Thursday, December 30, 2010

Best of Marzipan 2010

The year is winding down and it's time to look back on 2010 and reflect on drool over the past year's posts. It was a good year! So good, that some of these recipes deserve some awards, so drumroll please...

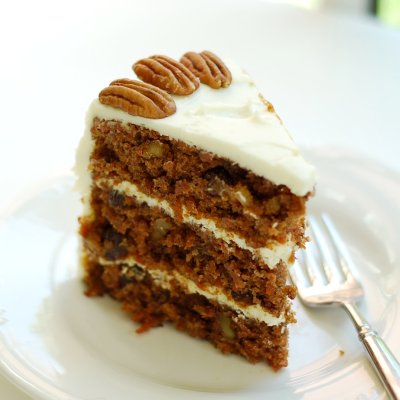
The 5 most-viewed 2010 Marzipan recipes are:


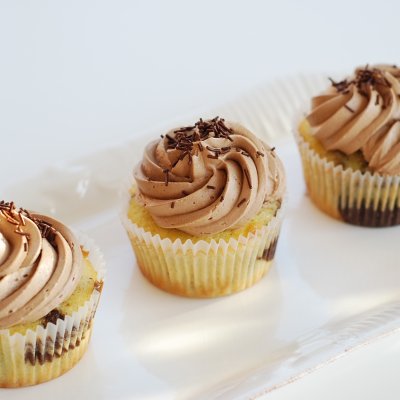
Banana Cupcakes with Pastry Cream

Also, I voted and decided on the following awards for 2010:

Best of 2010 1

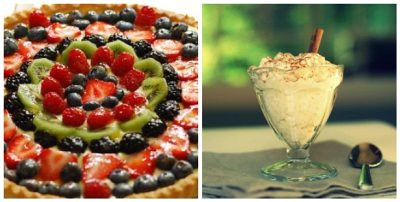
Most Beautiful Dessert: Lemon Curd Fruit Tart

Best Comfort Dessert: Creamy Rice Pudding

Best of 2010 2

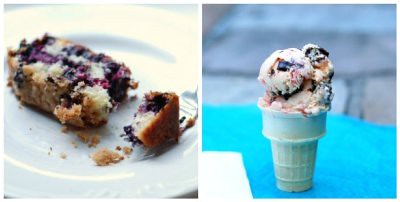
Best Dessert which can disguise itself as Breakfast: Blueberry Crumb Cake


Best of 2010 3


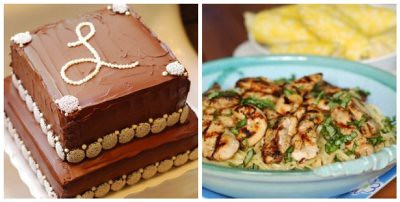
Most Delicious Savory Dish : Lemon and Basil Pasta

Best of 2010 4

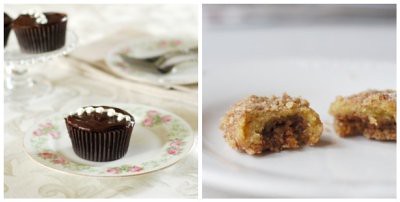
Best Cupcake: The Hostess

Best New Cookie: Melomakarona

Best of 2010 5

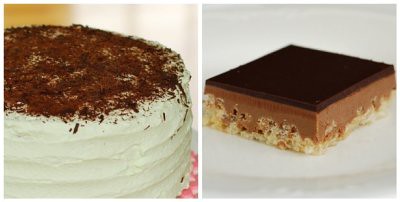
Best New Cake: The Grasshopper Cake

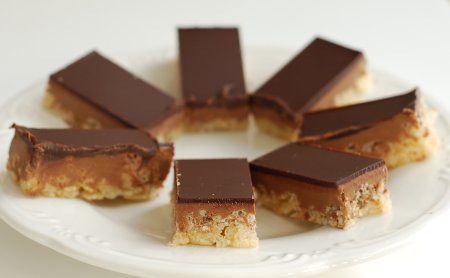
Most frequently repeated in my baking repertoire: Peanut Butter Crispy Bars

That's it! Let's toast to a Grand New Year and lots of new and tasty recipes!

Tuesday, December 28, 2010

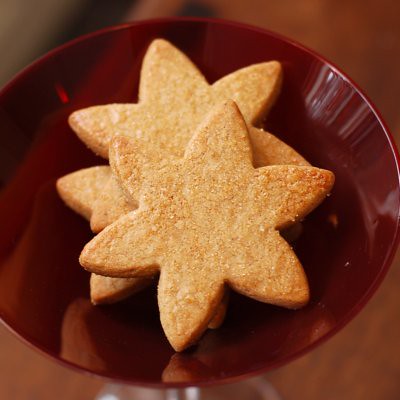
Brown Sugar and Spice Stars

Brown Sugar and Spice Stars

It's time for relaxing after a busy holiday season. That means time again for afternoon tea and cookies. This cookie is one of my all-time favorites and it's perfect for dipping in tea. It's a crunchy cookie with lots of cinnamon and a bit of cloves. They last for weeks in an airtight container and get better with age. I don't know why, but I always make these in a star shape. I brush them with a little egg white and sprinkle turbinado sugar on them before baking. This step adds a little more crunch and dresses them up, eliminating the need to add an icing or decoration.

Put these on your Christmas cookie tray, but save a few for those recovery days after the holidays!

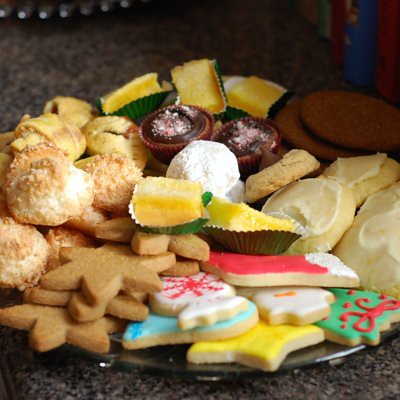
Cookie Tray

Are you a dunker?? If so, here are more great cookies for dunking:

Melomakarona (walnut stuffed honey soaked cookies)
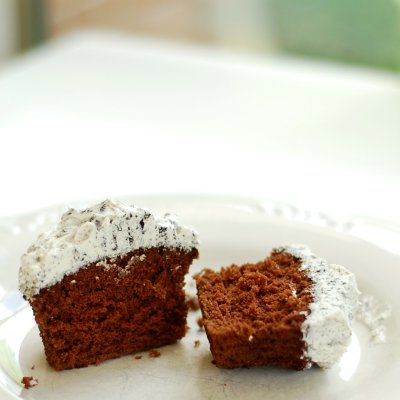
Homemade Oreos (best dipped in milk!)

Brown Sugar and Spice Cookies

1 cup firmly packed Light Brown Sugar
1/2 cup butter, softened
1 egg
1 teaspoon vanilla
2 cups all-purpose flour
2 teaspoons baking powder
2 teaspoons ground cinnamon
1/2 teaspoon ground cloves (or nutmeg if you prefer)
1/4 teaspoon salt


Preheat oven to 350°F. Line cookie sheets with Silpats or parchment.

Beat brown sugar and butter in large mixing bowl until light and fluffy. Add egg and vanilla; beat until creamy. Stir together flour, baking powder, cinnamon, cloves and salt; gradually add to sugar mixture. Beat until combined.

On well-floured surface, roll out half of dough at a time to 1/8-1/4 inch thickness. Cut into shapes with floured cookie cutters. Bake on prepared cookie sheets 12-15 minutes. Cool on wire rack.

Makes about 3 dozen cookies.

Saturday, December 25, 2010

Merry Marzipan Christmas!

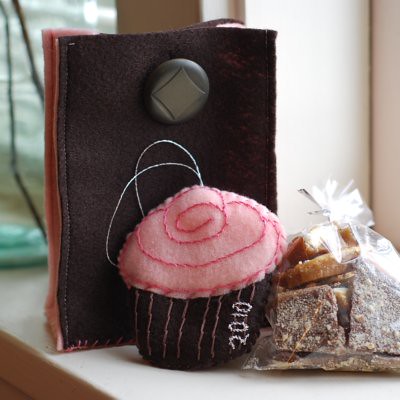
Cupcake Ornament

I talked with my mom on the phone the other day and she said, "I know you're busy because we haven't seen anything new on your blog."

That's right, I've been busy baking cookies for neighbors, cakes for Christmas celebrations, and toffee for gifts. I just haven't had the time to share it with you, or take pictures, and after Christmas you probably won't want to see another cookie post for another 10 months!

I did make time to sew by hand these adorable cupcake ornaments made of felt and embroidery thread for my soul sisters Handmade Christmas Ornament Exchange right down to the handmade packaging and toffee.

Other things we've been doing:

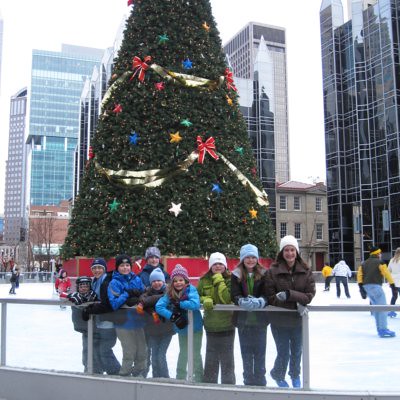
Listening to 3rd graders play Christmas Strings at the Wintergarden at PPG Place in Pittsburgh...
IMG_0567

and skating at the PPG outdoor skating rink...

IMG_0648

and drinking hot chocolate...
Winter 2010

and decorating Christmas trees...

Christmas 2010

and touring bakeries in New York City (I'll be posting more on that!)...

Winter 2010

I'd love to hear what festive activities you've been doing this busy month!

Happy Holidays from the Marzipan Kitchen!

Winter 2010

Thursday, December 16, 2010

How to Make Any Cheesecake Recipe into Cheesecake Bars

DSC_0223

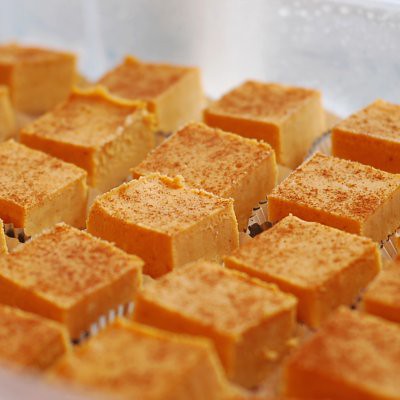
Want to make this Creamy Pumpkin Cheesecake or your favorite cheesecake recipe into smaller bite-sized pieces? If you are offering more than one type of dessert, smaller pieces mean your guests won't have to fill up on one rich slice of cheesecake and instead can take a sampling of all there is to offer. It's a good thing.

(These can also be made ahead and frozen - in fact, I prefer to eat them 5 minutes out of the freezer about halfway between frozen and thawed - yummy!)

Here's how it's done:

1. Line your 9x13 pan with parchment paper so that the parchment is hanging over both long sides of the pan. Use a large paper clip to secure the parchment to the rim of the pan. The parchment will make it easier to lift the cheesecake out of the pan to cut it after it's been frozen and the paper clips keep the parchment from touching the top of the unbaked cheesecake filling.

2. Make 1 1/2 times the crust and press it evenly into the 9x13 pan.  Bake as directed in the recipe for about the same amount of time. Keep an eye on the crust. It should be only lightly browned around the edges. You could also use (2) 8x8 or 9x9 pans, dividing the crust and filling between the two, but adjust the baking time to compensate for the smaller pans.

3. Have ready a large roasting pan that the 9x13 pan will fit inside of. This will be for the water bath. I tried to bake one without the water bath and it was a complete flop, so I highly recommend using a water bath even if you have to borrow a roasting pan from a neighbor.

4. Heat a teapot of water while you make the filling.

5. Place the 9x13 pan into the roasting pan and make the filling as directed (no need to increase the filling amount as you did for the crust).

6. Pour the filling over the crust and place the roasting pan on your middle oven rack. Pour hot water into the roasting pan until it comes about halfway up the sides of the 9x13 pan. Bake at 325 degrees F. Check for doneness in about 45 minutes (less for smaller pans). The cheesecake is done when it is just ever-so-slightly wobbly in the center. This could take anywhere from 45 minutes to an hour or more. Just keep checking it by wiggling the pan every so often and see how much it jiggles in the middle. Remove from the oven and run a knife all the way around the sides of the pan and then allow the cheesecake to cool completely, then cover with plastic wrap and place in the freezer for at least two hours or overnight.

7. After the cheesecake is frozen, lift it out of the pan using the parchment paper as handles onto a large cutting board. Using a sharp chef's knife or serrated bread knife, cut the cheesecake into squares. Wipe the knife or rinse it with hot water between cuts to make the cuts clean and neat. Place the squares into mini cupcake liners and either re-freeze up to 2 weeks or refrigerate up to three days in an airtight container.

Monday, December 6, 2010

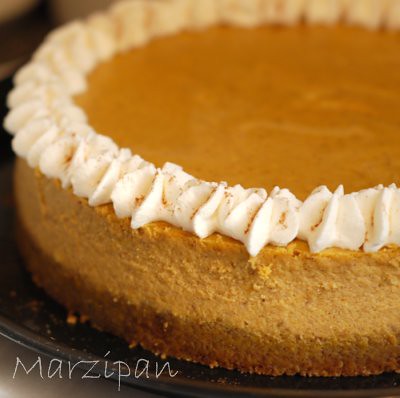
Creamy Pumpkin Cheesecake

Pumpkin Cheesecake

If you're looking for a great make-ahead dessert for the holidays, look no further! Make this creamy pumpkin cheesecake, let it cool to room temperature and then wrap and freeze it, right in the springform pan if you want. Thaw it in the refrigerator overnight and you've got yourself an impressive dessert with no last minute prep - maybe just a dollop of freshly whipped cream and a sprinkling of cinnamon to top it off.

This cheesecake is so creamy and light, your guests will have a hard time believing that there is even cream cheese in it. I have made this recipe using both crusts and they are both wonderful. The ginger pecan pastry crust makes the cheesecake a little more like a pumpkin pie while the gingersnap crust gives a more sandy texture to the crust which pairs nicely with the creamy spiced filling.

Pumpkin Cheesecake with Ginger-Pecan Pastry Crust or Gingersnap Crust
adapted slightly from The Cake Book by Tish Boyle

(makes one 9-inch cheesecake)

For the Ginger-Pecan Pastry Crust
1 cup all-purpose flour
1/4 cup firmly packed light brown sugar
1/8 tsp salt
1 teaspoon ground ginger (or use 1/4 cup finely chopped crystallized ginger if you want a more pronounced ginger flavor)
1/3 cup pecans
1/2 cup unsalted butter, cold & cut into 1/2 inch cubes
1 tbsp cold water

For the Gingersnap Crust
1 1/2 cups finely crushed gingersnaps (I used a food processor)
4 tablespoons melted butter
1 tablespoon sugar

For the filling
1 cup pumpkin puree
1/2 cup heavy cream
2 tsp vanilla extract
1 tsp ground cinnamon
1/2 tsp ground ginger
1/4 tsp ground nutmeg
1/4 tsp ground cloves
1/8 tsp allspice (optional)
1/4 tsp salt
1 1/4 lbs cream cheese, at room temperature (it is very important that the cream cheese be soft before you start the recipe)
1/2 cup granulated sugar
1/2 cup firmly packed light brown sugar
1 tbsp cornstarch
4 large eggs, at room temp.

Position oven rack in the center and preheat oven to 350F. Grease the bottom and sides of a 9x3 inch springform pan. Wrap the outside of the pan with 2-3 layers of heavy duty aluminum foil. Trust me, this is an important step to prevent a soggy cheesecake. Have ready a large roasting pan that the springform pan will fit into and put your teapot on the stove and start heating up some water for the water bath.

If making the ginger-pecan pastry crust:
Place the flour, sugar, salt, ginger, and pecans in the bowl of a food processor. Process until the pecans are finely ground. Add the cold butter cubes and pulse until the mixture forms coarse crumbs. Add the cold water slowly until the dough just comes together. Press the dough into the bottom of your prepared pan. Bake for 25-30 minutes until the crust just starts to brown. Cool crust completely on a wire rack.

If making the gingersnap crust:
Place the cookies in a food processor and process the cookies to fine crumbs. Measure out 1 1/2 cups and place them in a bowl. Add the melted butter and sugar and stir until combined. Press the crumb mixture evenly into the bottom of the springform pan, pressing with the bottom of a flat-bottomed measuring cup to pack it down and make it level. Bake for 10-15 minutes or until fragrant and slightly browned.

To make the filling
Reduce oven temperature to 325F. In a bowl, whisk together pumpkin, heavy cream, vanilla, cinnamon, ginger, nutmeg, cloves, allspice and salt. Set aside.

In the bowl of a stand mixer, beat the cream cheese on medium-low speed until creamy, about 2 minutes. Add the sugars and beat on low speed until smooth, scraping the side of the bowl a few times as necessary. Mix in the pumpkin mixture, then add the cornstarch and mix until just blended. Scrape down the sides of the bowl again.

Add the eggs, one at a time, mixing until just combined. Scrape down the sides of the bowl and do a final mix by hand to make sure all the ingredients are well incorporated.

Pour the filling in the cooled crust. Set the foil-wrapped springform pan in a large roasting pan. Carefully pour enough hot water into the large pan to come 1 inch up the sides of the springform pan. Bake for 70 to 80 minutes until the center is set but still a bit wobbly.

Remove cheesecake from water bath to a cooling rack. Carefully remove the foil and run a thin knife tip around the edge of the cake. This will loosen the cake and help prevent the top from cracking. Cool completely at room temperature. Refrigerate the cooled cheesecake overnight or freeze up to one month.

Wednesday, December 1, 2010

Christmas Cookies!

Christmas Cookies

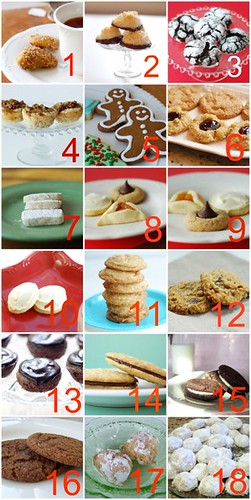
It's officially the Christmas season and the countdown begins! We got our first dusting of snow this morning so it finally feels like the real deal! We're all super busy this time of year, so I thought I'd put all my cookie recipes in one place to make them easier for you and me to find.

Tuesday, November 30, 2010

Make and Freeze...Applesauce

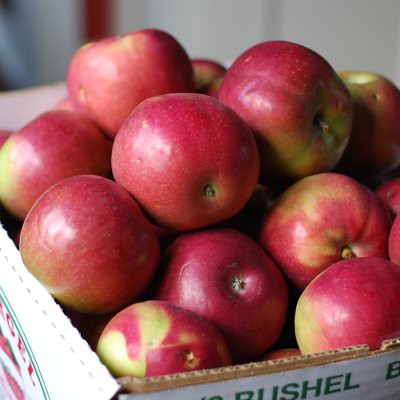
Apples

Our new house has four huge oak trees on the property. Two are registered more than 200 years old and the other two are probably as old as our 80-year-old house. These oaks produce a ton of acorns and the squirrels have been scurrying around trying to collect what they can before winter settles in.

As I watch the squirrels do their thing, it occurred to me that I'm a little like that too. I hoard seasonal foods when they are plentiful and store them in my freezers to eat all winter long. When strawberries are plentiful, I'm freezing bags and bags of them to use in smoothies. When tomatoes are abundant, I make and freeze tomato puree for use in soups and sauces, and I freeze pizza sauce and marinara sauce in containers just the right size to serve my family one meal. I freeze raspberries for pies, locally raised chickens for roasting and local organic beef in 40-pound installments. I've got two full upright freezers and two refrigerator freezers and they're nice and full this time of year.

I thought some of you might be interested in some basic freezing advice and so I'm starting a new series called "Make and Freeze". Here I will highlight recipes and techniques for freezing foods that are in season for use throughout the year. If you have anything to add, or if you do it a little differently, I'd love to hear about it in your comments! So grab a bunch of apples and let's make and freeze some applesauce!

Choose your apples...
To make smooth applesauce, choose an apple variety which is soft and sweet such as Macintosh (used here), Galas or Fuji, or use any combination of these or other varieties of apples. If you're looking for more information, Pickyourown.org lists many of the varieties of apples and what they are best used for.

Prepare the apples...
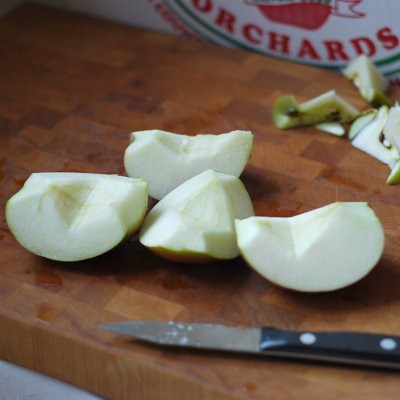
Wash the apples in a tub of water, quarter them and remove the core. Some may think it's not necessary to remove the core, but I like to remove it just to be sure there won't be any hard bits of core that end up in the sauce. If you have a food mill, you can leave the skins on which will save you a lot of time. If you do not have a food mill, you can peel the apples and use a food processor or even a potato masher after the apples have been cooked.

Making Applesauce

Cook the apples...
Place the apples in a large stock pot and add just enough water or apple cider to coat the bottom of the pan to prevent scorching. I added about 1/4 cup of water. Place a tight-fitting lid on the pot and cook over med-high heat. Stir once or twice in the beginning until the apples start to release their juices, then lower the heat to medium and keep the lid on until the apples are completely steamed through. This might take 15 to 20 minutes or so.

Making Applesauce

When the apples are cooked, the applesauce aroma will start to fill the kitchen and they should look like the photo below. Give the apples one more stir to feel for any apples which are not quite cooked. If you feel any uncooked apple chunks, cook for another 5 minutes or so with the lid on until all the apples are soft.

Making Applesauce

Mash the apples...
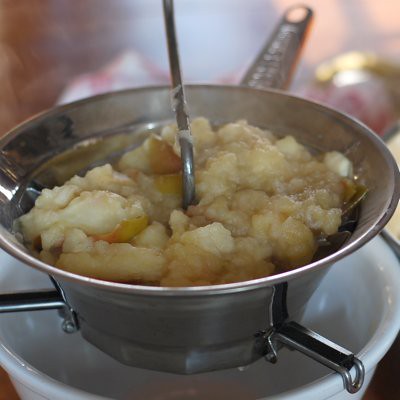
While still hot, spoon the apples into a food mill. I use the disc with medium holes since I like my applesauce not too chunky and not too smooth. If you have peeled your apples, you can let them cool a bit and use a food processor or simply mash them with a potato masher right in the pot.
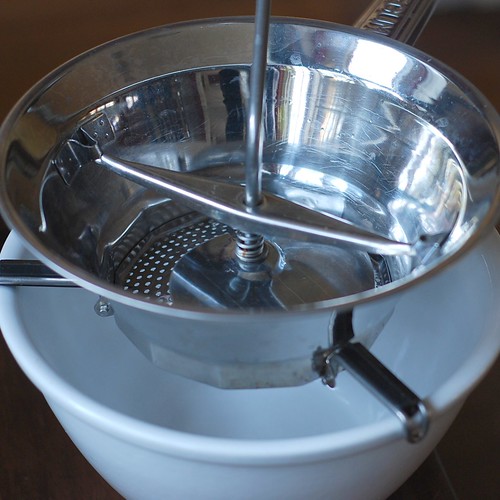
Making Applesauce

Kids love to help turn the crank on the food mill so if you've got any kids around, put them to work! Here are the apples - skins and all - ready for milling.

Making Applesauce

After the apples go through the mill, they will look like this.
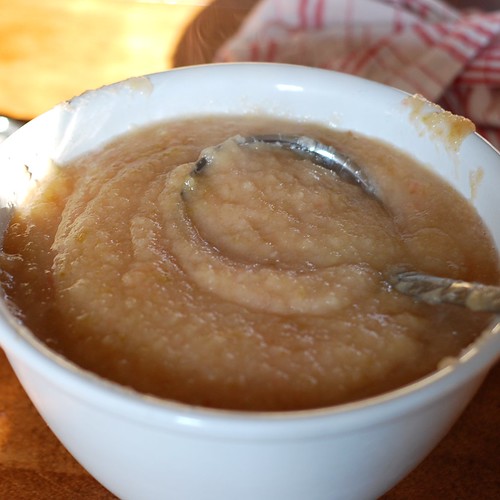
Making Applesauce

Sweeten and spice up your applesauce...
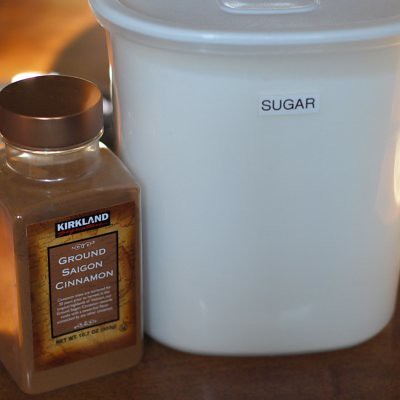
While the applesauce is still hot, you can add the cinnamon and sugar if you like. I prefer to leave them unsweetened these days, but if you want to add sugar,  add it when the sauce is still warm so the sugar will dissolve completely. Add just a little at a time and taste it as you go until the applesauce is just as sweet as you like it.  

Making Applesauce

Do the same for the cinnamon. Cinnamon is not optional in my opinion, and if you add cinnamon, you might find you don't need to add as much sugar.  I like plenty of cinnamon, but you could omit it or add it later if you prefer.
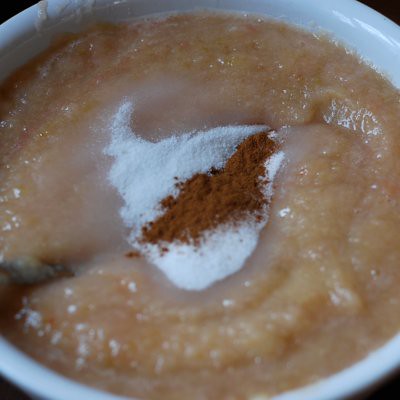
Making Applesauce

Contain and freeze your applesauce...
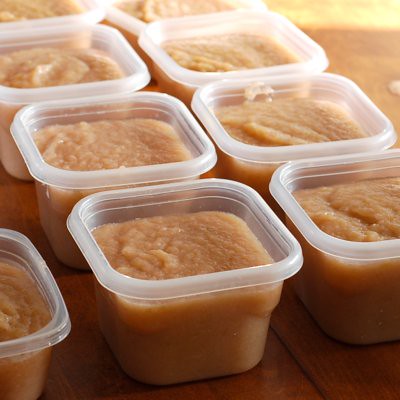
Place your applesauce in containers and let them cool to room temperature with the lids off until they come to room temperature or are just slightly warm, then cover and freeze. I love these Ziploc square quart-size containers. They stack nice and neat in the freezer and hold just the right amount to serve our family of 5 with dinner. A half bushel yielded about 10 quarts of applesauce and I filled about 3 stockpots full of uncooked apples.
Making Applesauce

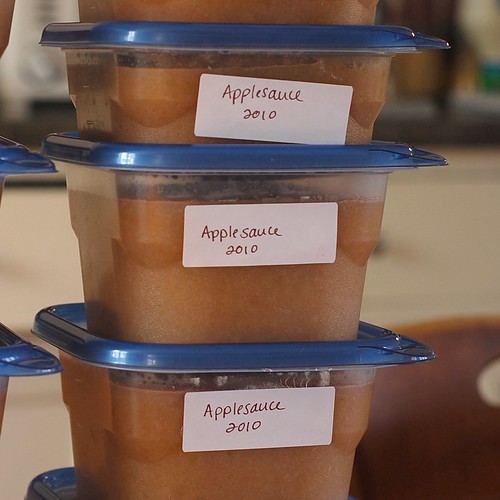
Be sure to label the containers with the contents and the date. This applesauce is so much more flavorful and thicker than the applesauce from the supermarket.  If you've got extra apples, make a little or a lot and freeze the extra.
Making Applesauce

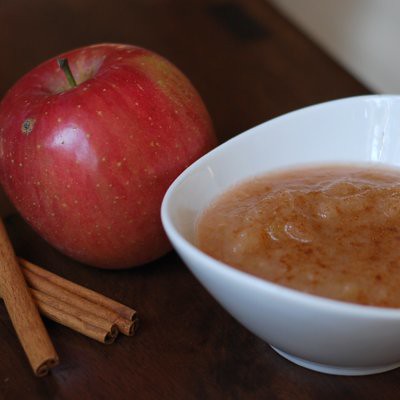
Eat your applesauce...
I like to add just a sprinkling more cinnamon just for good measure!

Making Appplesauce

LinkWithin

Related Posts Widget for Blogs by LinkWithin